Membership registration
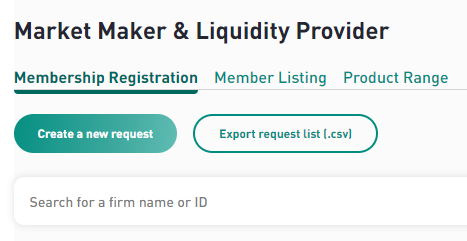
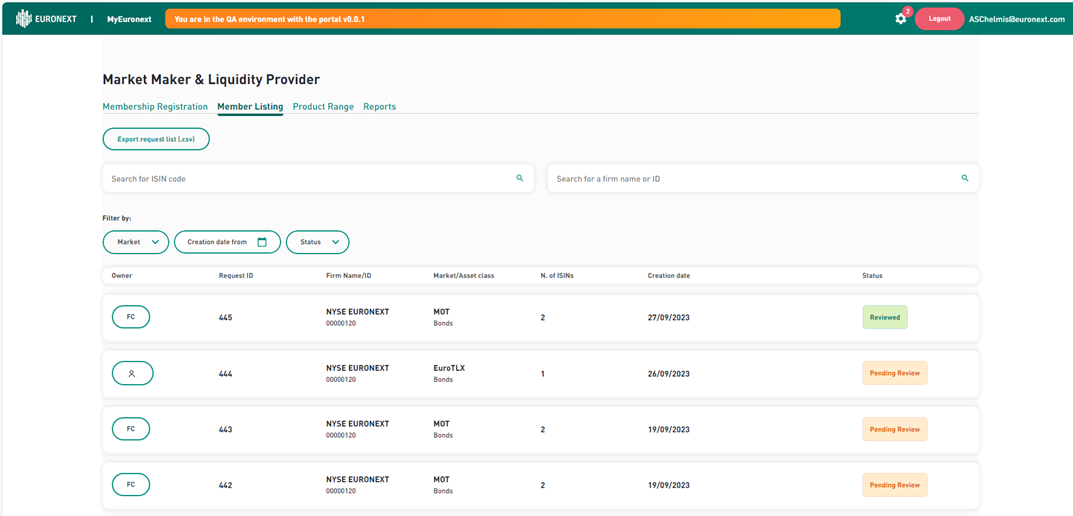
Entering the main MMLP page, you can see the first tab “Membership registration”.
Create a request
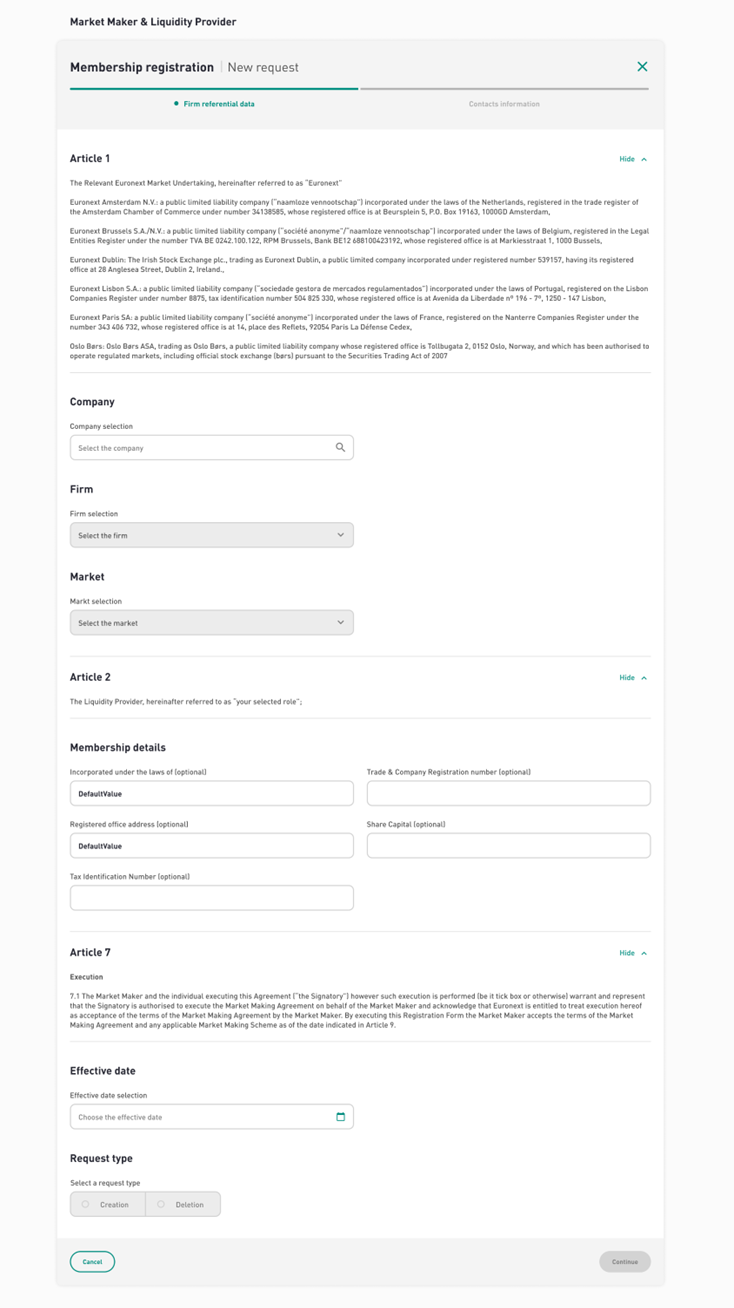
After clicking on “Create a new request”, a form appears, which should be completed with the main registration information.
STEP 1
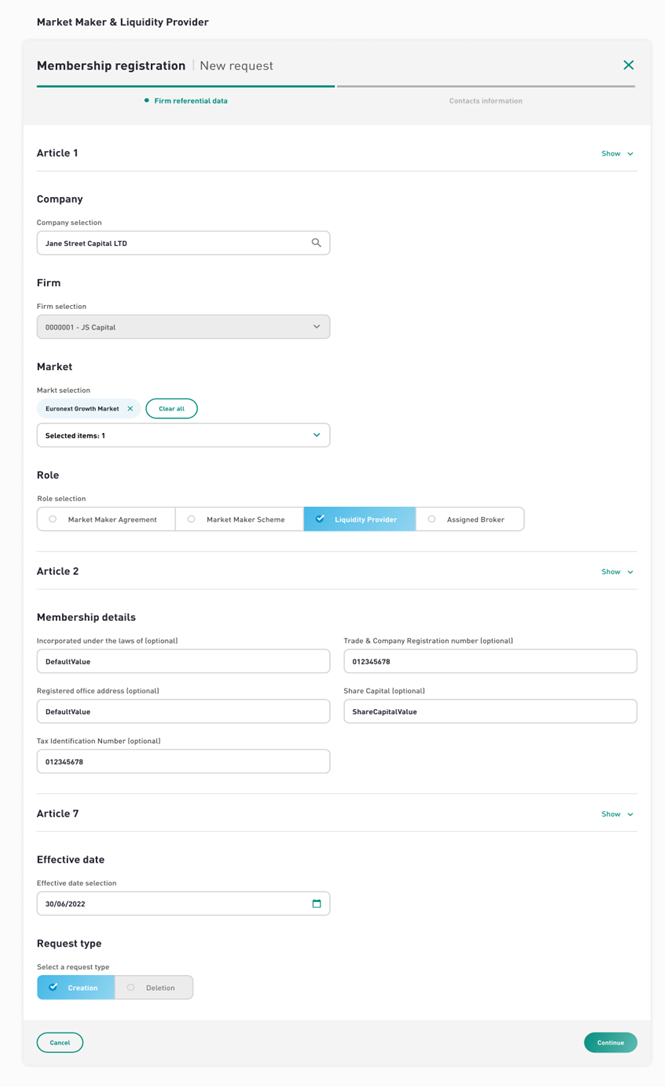
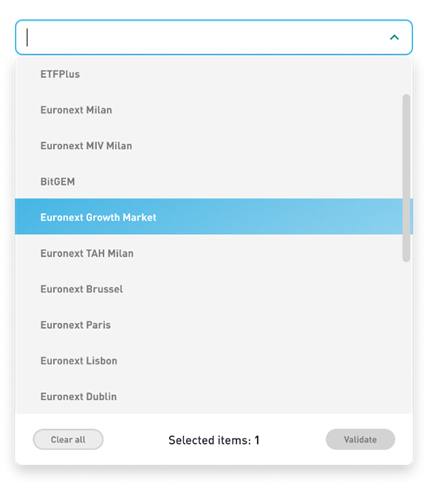
In the subsection “Firm referential data” you need to select the company, the firm, the role and the market.
Once done you can fill the “membership details” (optional) then choose the effective date.
Finally, choose the request type: Creation then click “Continue”.
STEP 2
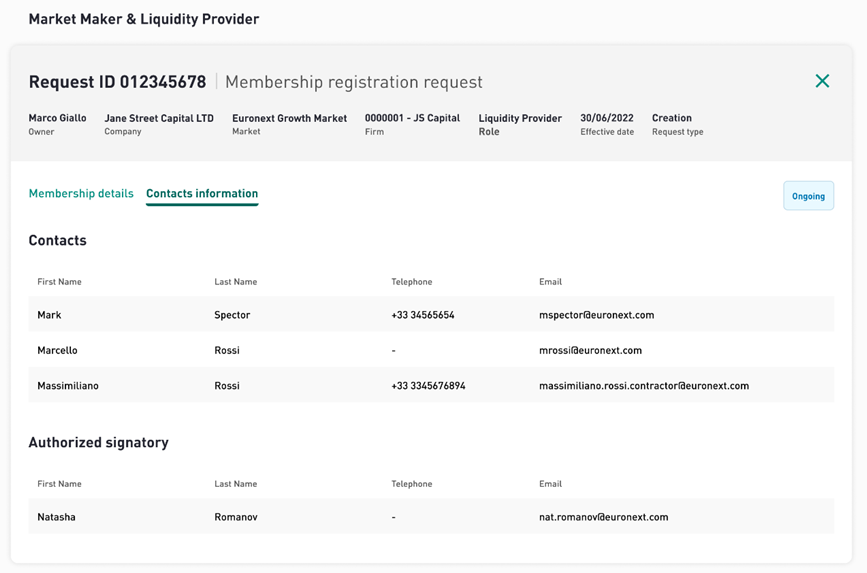
After filling this first tab and in the case of a creation request, you enter the new tab “Contact information”.
Select “contacts” and “authorised signatories” from the dropdown lists.
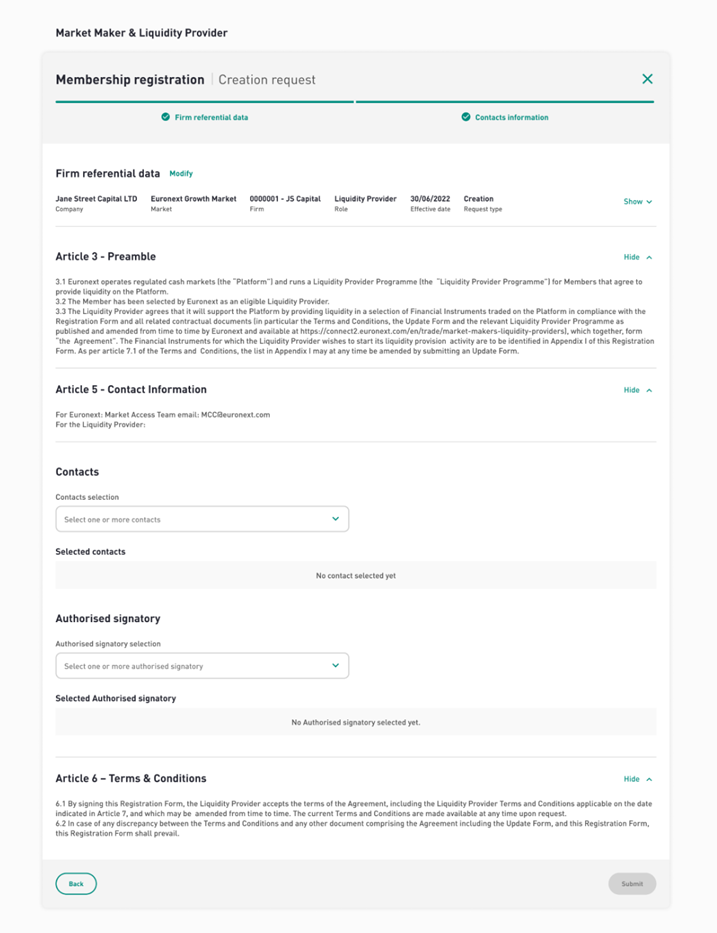
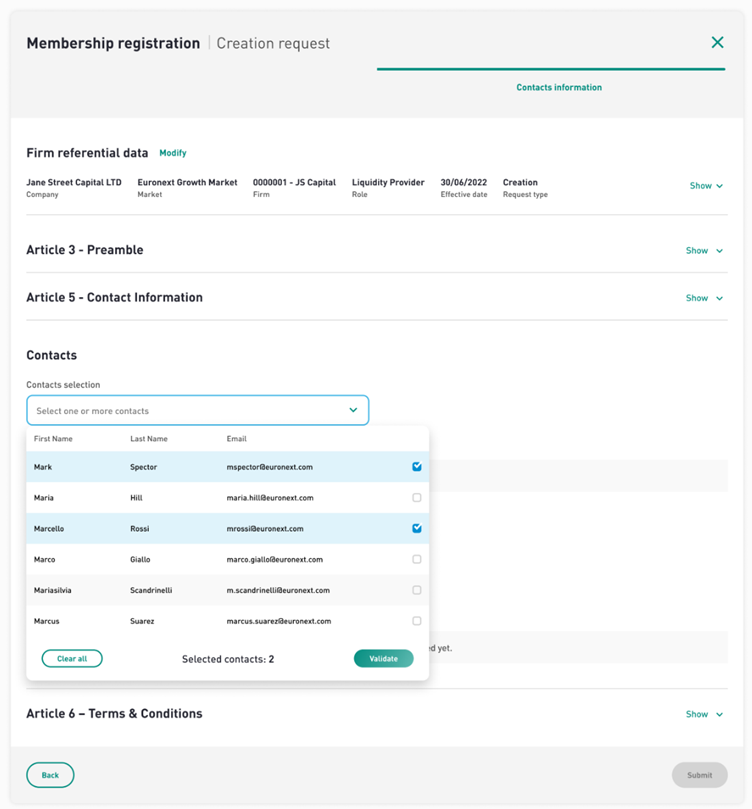
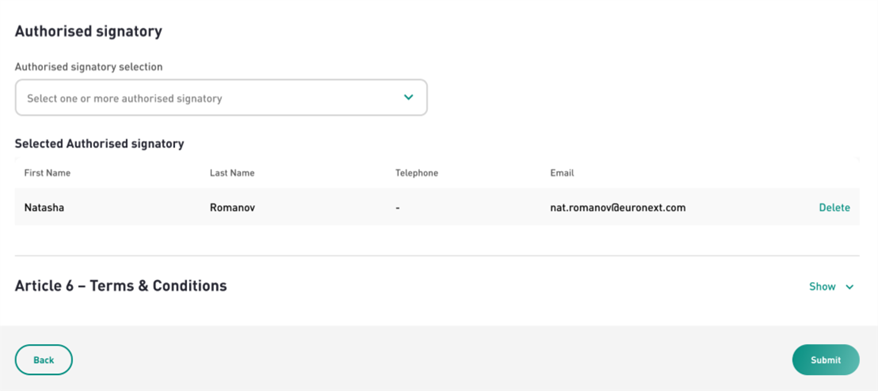


Please note that for the creation request, the contract has to be signed in order to end the registration process.
Once you have submitted your request, an e-mail will be sent to the signatories you have designated in order to review the request and validate it.
This e-mail is sent via DocuSign
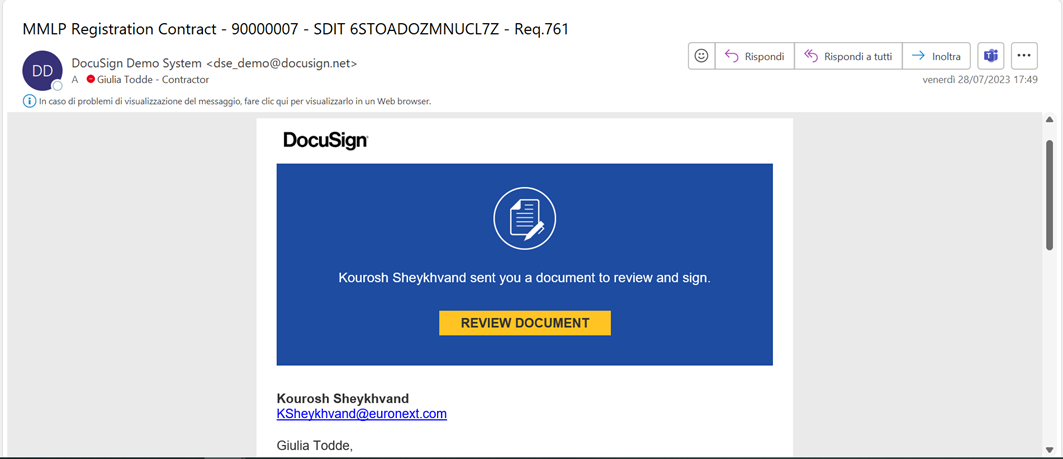
You then need to click on the link “Review Document” in order to access the DocuSign page.
Once the DocuSign open, click on “continue” to be able to start reading the document.
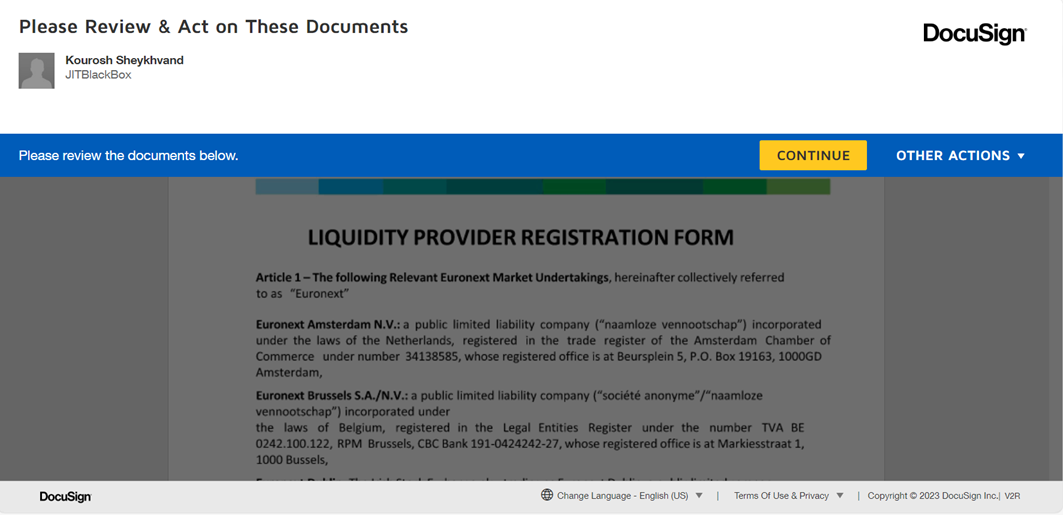
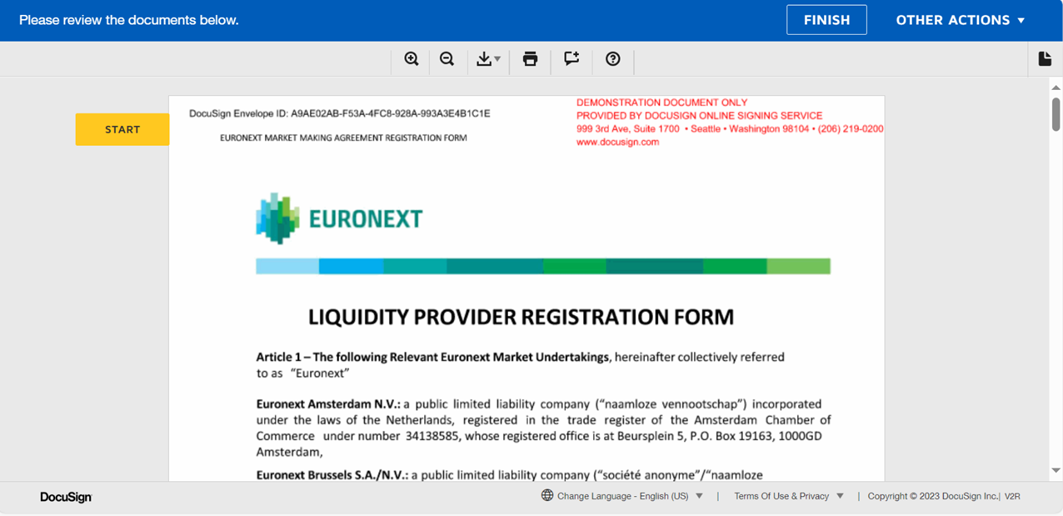
Once you have reviewed the registration form, fill in the “job title” and click on “sign” to be able do sign the document virtually.
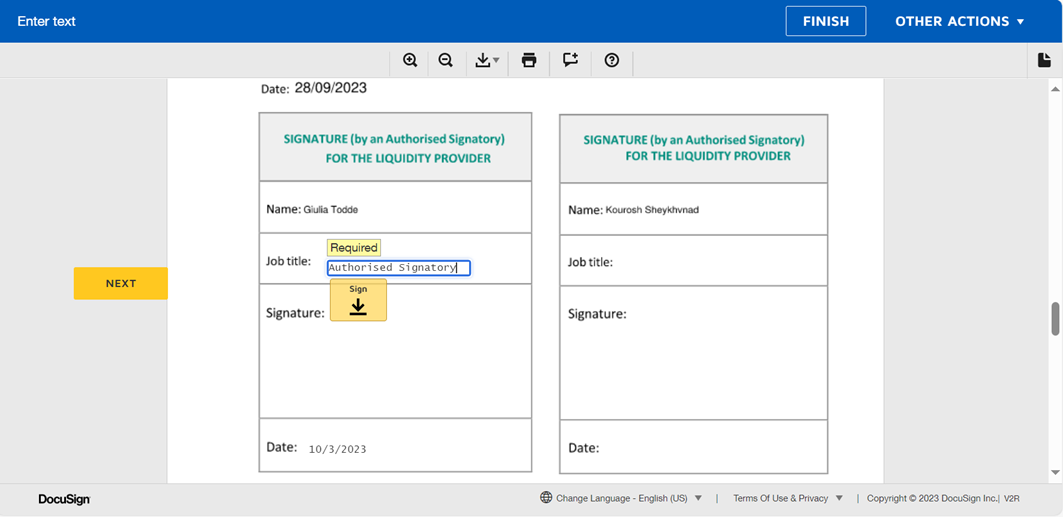
In the signature section, you will have to fill in your full name and initials.
The you will have 3 signature choices :
- A styled signature with your first and last name
- A frame to draw your signature
- A tab to upload your signature
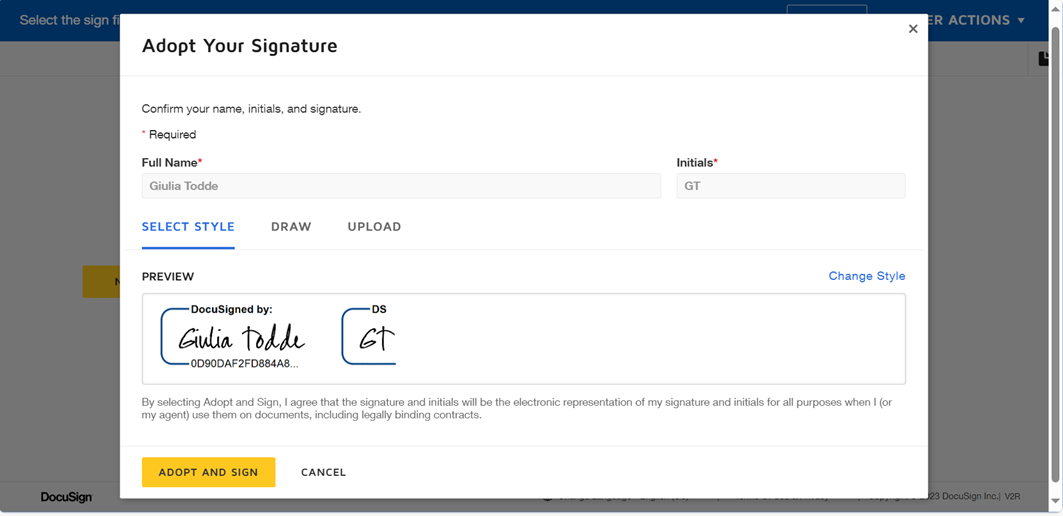
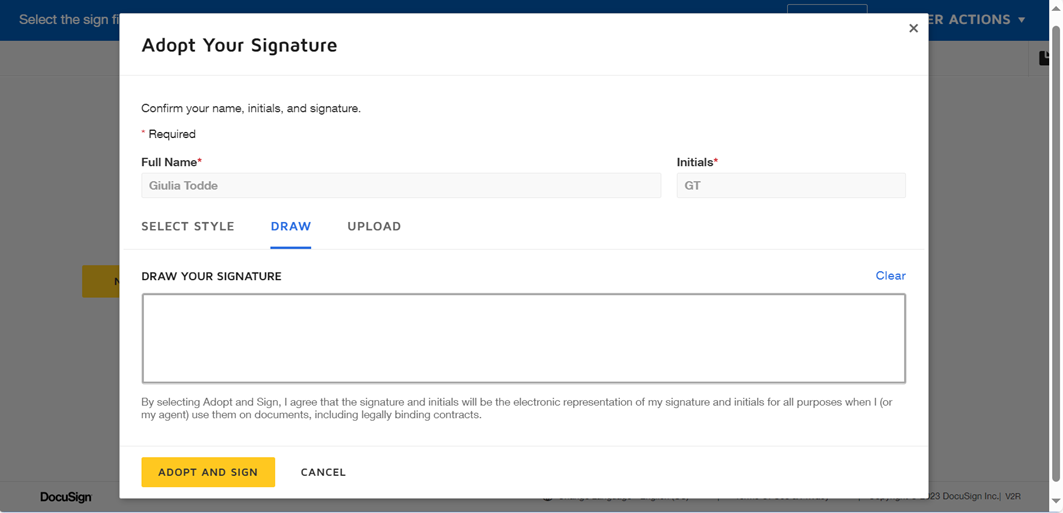
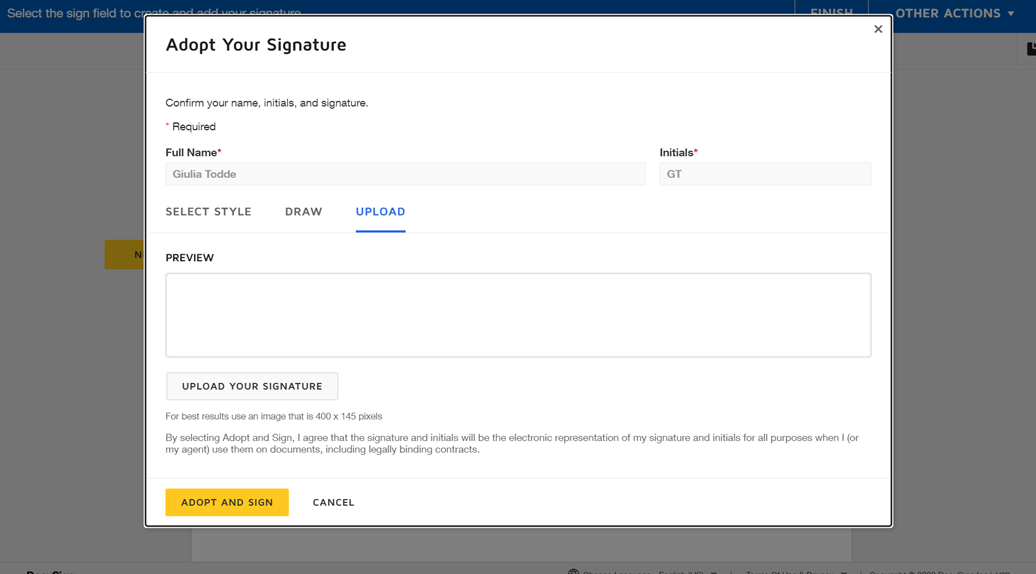
Once you have chosen the signature type, click on “adopt and sign”. A pop up will appear to confirm that you are done signing.
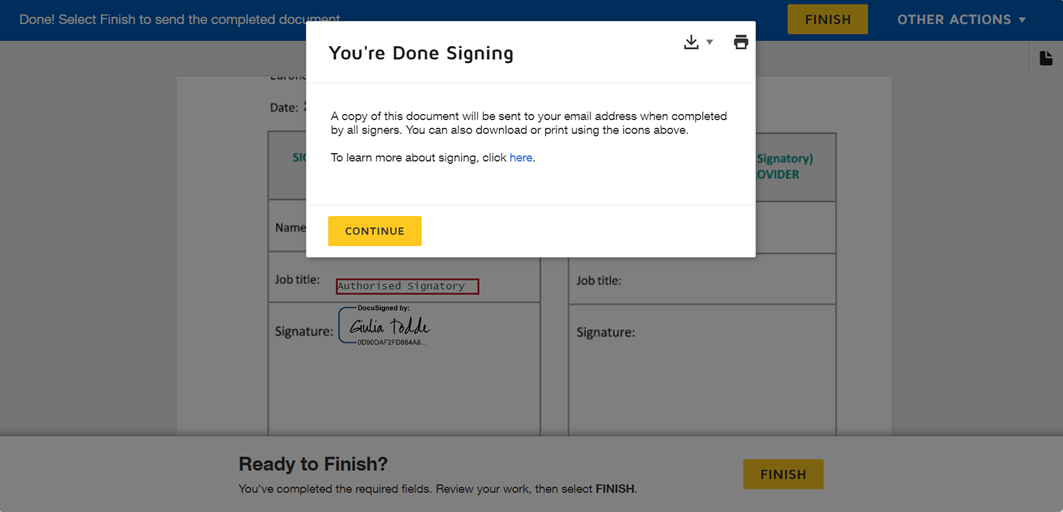
Once the signature is completed, you will receive an email confirming that you have finished signing.
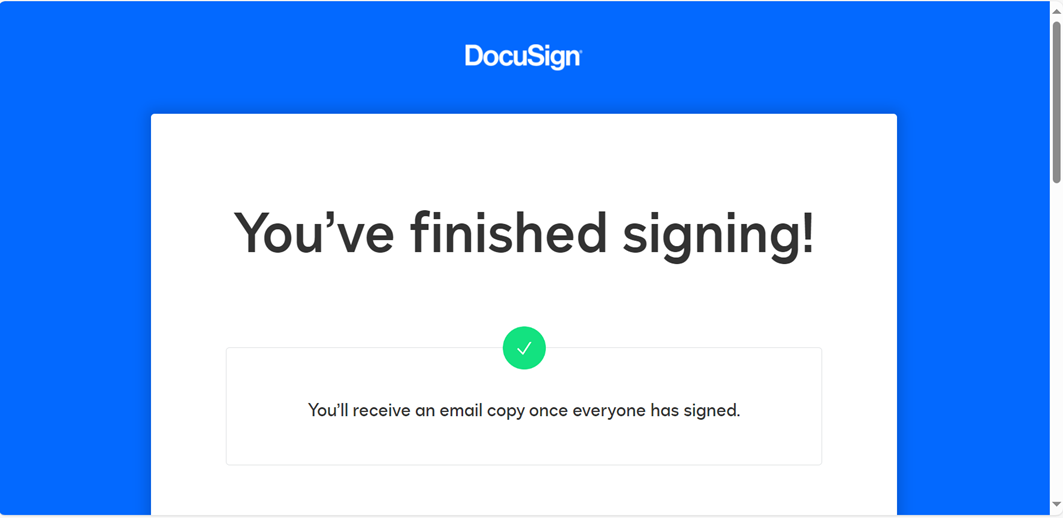
In case the registration form has two or several signatories, you will receive another confirmation e-mail once all the signatories are done signing.
The status of the registration form will then move to “Pending Review”.
Request deletion
You can also create a deletion request, but the process is simpler.
As in part 2.1.1, create a request by clicking on the “Create a new request button”. Then, select a market, select the MIC firm, role and fill in all the request details. If the chosen combination exists, you can select “Deletion” as a request type.
You need to enter a reason to create this deletion request.
Then click on “Submit”.

Click on submit, a pop-in will appear asking for your confirmation. Click on “Submit”.

In the case of a deletion request, there will be no second step with “contacts information”.
This step is skipped, and the request is created.
Request statuses
From the requests list described in the beginning of the article, you can consult each request’s detail by clicking on it.
Depending on the request’s status, the overview / detail page will be different:
Ongoing
In an ongoing request detail page, you will be able to see the following screen: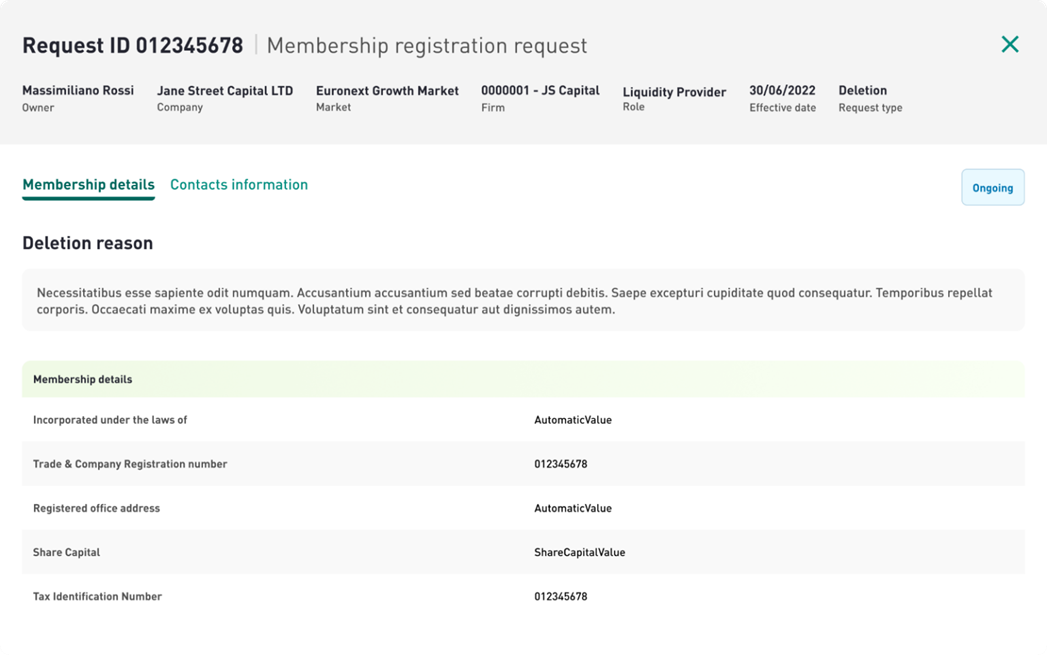
After submitting your request, Euronext can either approve it or reject it.
You will be able to see your request’s status by going directly to your request.
Rejected
In a rejected request detail page, you will be able to see the following screen:
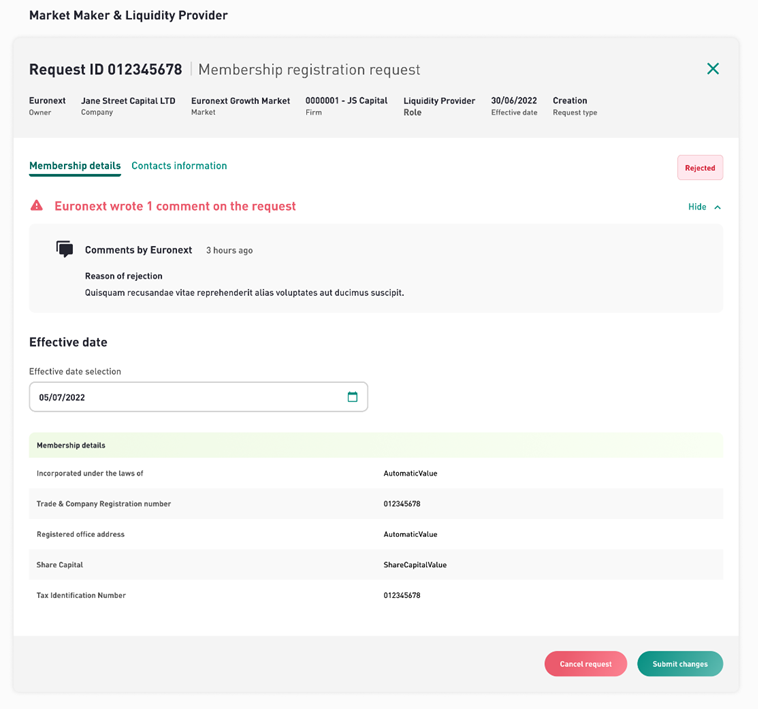
If your request has been rejected, the reason will be mentioned as a Euronext Comment.
If the rejection is related to the effective date, you can amend it and click on “Submit changes”. Otherwise, you need to cancel the request.
Approved
In an approved request detail page, you will be able to see the following screen:
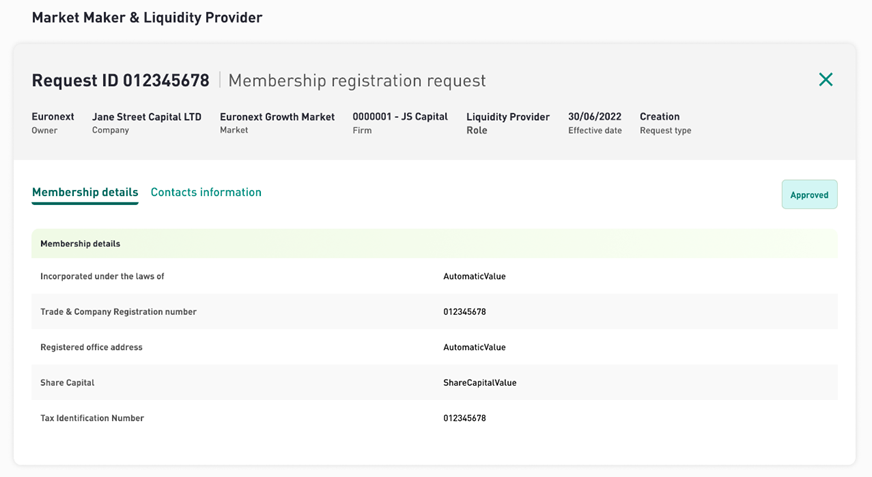
Your request has been approved by Euronext.
The next step is the publication of your request on the effective date.
Published
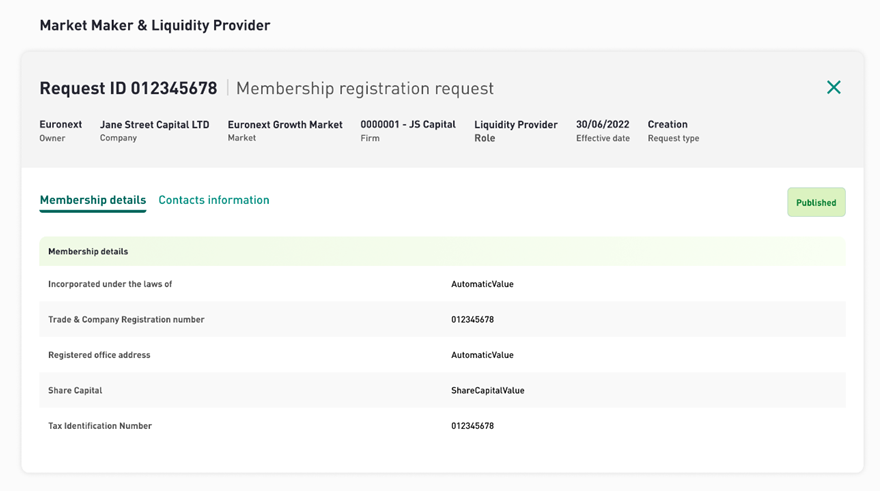
In a published request detail page, you will be able to see the following screen:
